KeramikprocessenFrån lera till färdigt alster
To give life and meaning to a lump of clay, it needs to go through several different steps and long waiting times...
- When the clay is removed from the bag, it should be kneaded thoroughly to remove any air bubbles and get ready for the next step.
- The clay can be shaped on a wheel or by hand. It is important that the clay does not become too dry.
- When the clay has dried to the so-called "leather-hard" stage (which takes about a day), it is time to trim the product on the lathe. When the desired shape is achieved, any details such as handles or spouts can be mounted.
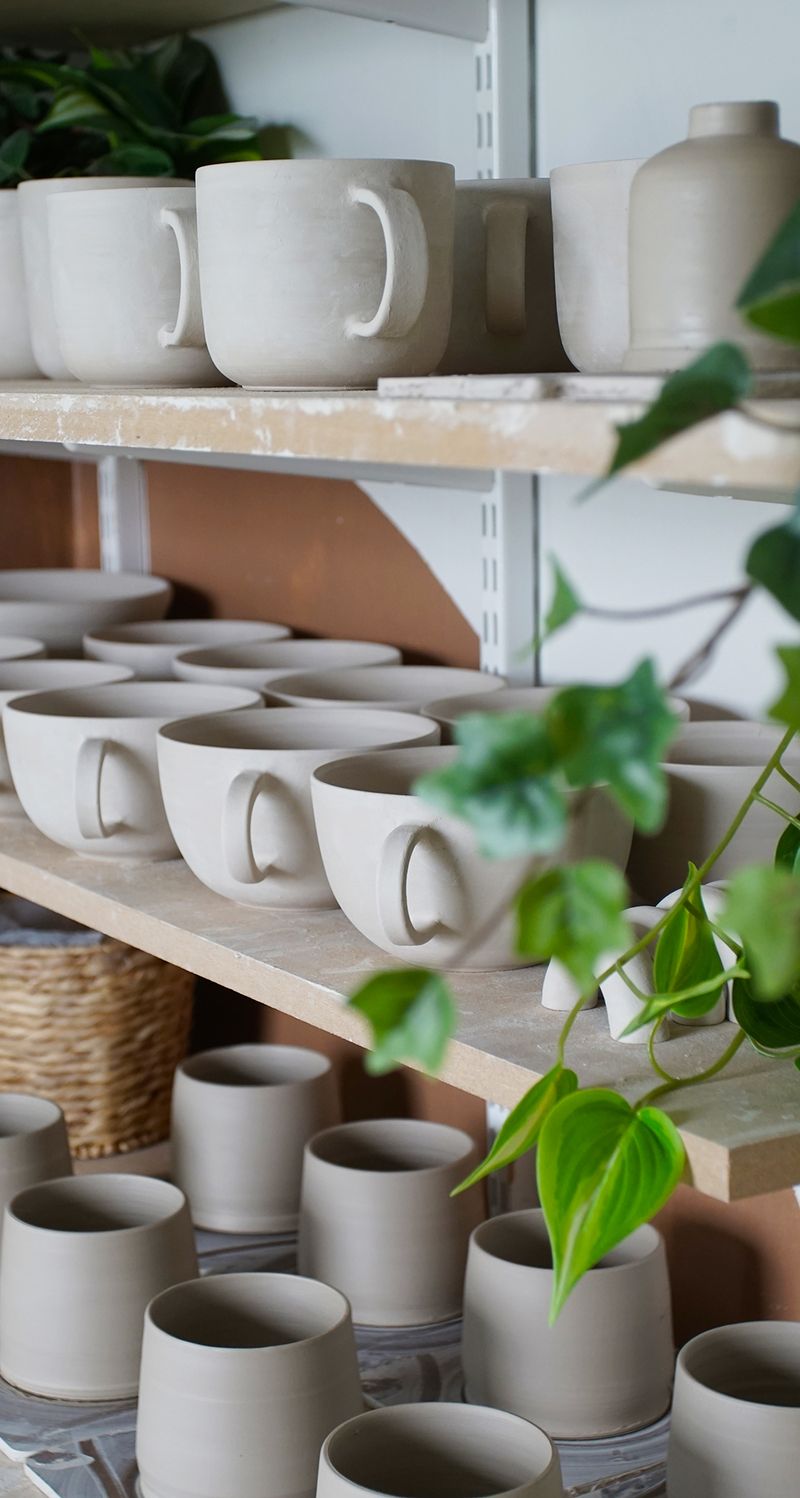
- Drying time ! The product must now dry completely. This takes several days and the larger the product, the longer it takes.
- After it has dried, you can take the opportunity to do a final polishing to smooth out any imperfections. At this stage, the piece is very fragile and must be handled with care.
- Scorching! This is where the product is fired for the first time, and for our clays we fire them at 960 degrees. After about a day, the kiln can be emptied, when it has cooled down sufficiently.
- Glazing ! Depending on the technique, you can either paint decorations with a brush or dip them in glaze liquid. It is important that there are even layers and that there is no glaze on the underside of the piece as it can get stuck in the oven and break.
- Glaze firing! All items are carefully loaded into the kiln again and fired to about 1240 degrees. It takes about 10 hours for the kiln to come up to temperature and even more until it cools down.
- When the products are completely fired, they can be polished with special sandpaper to remove any sharp edges.
- Now the creation is complete!
If you want to know more, you can read about frequently asked questions about ceramics here .